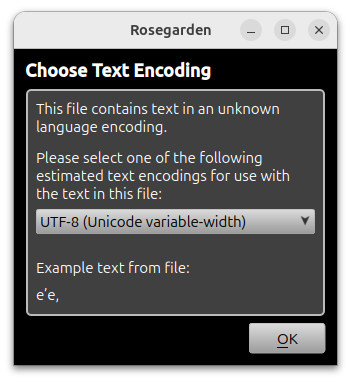
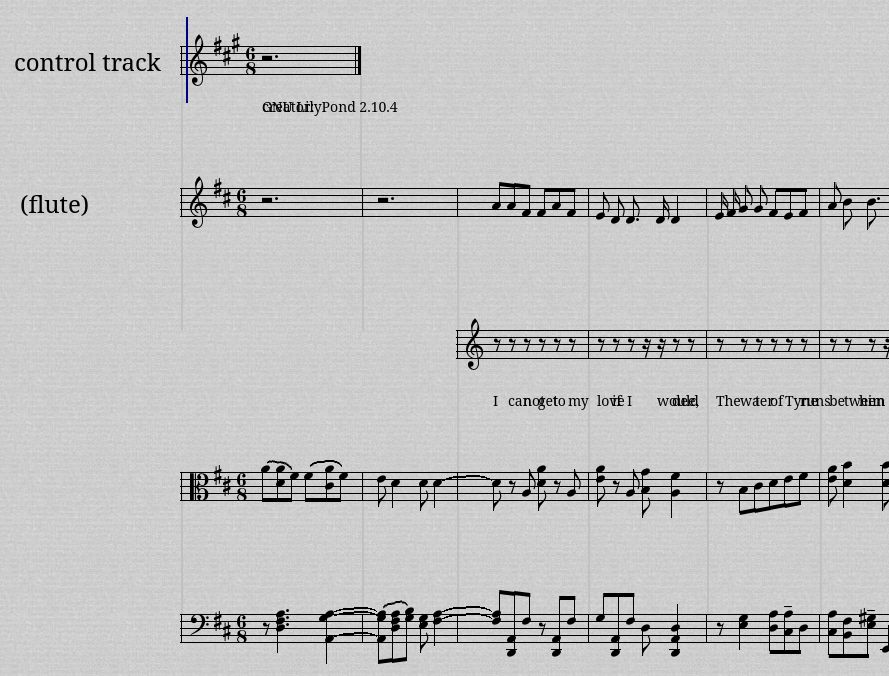
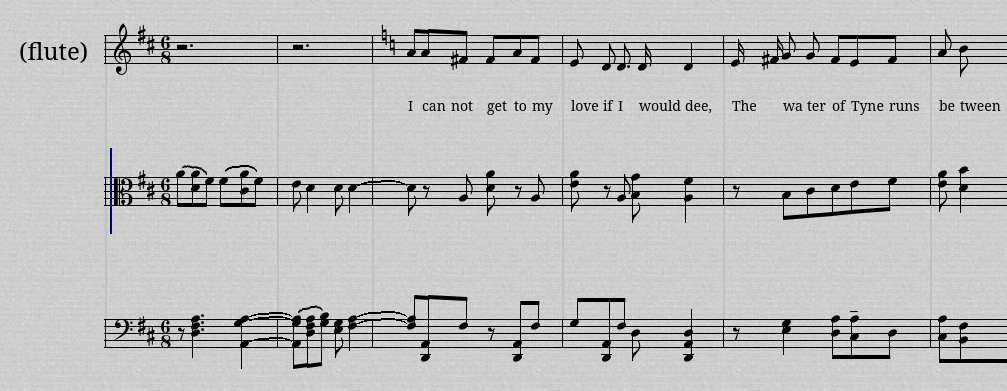
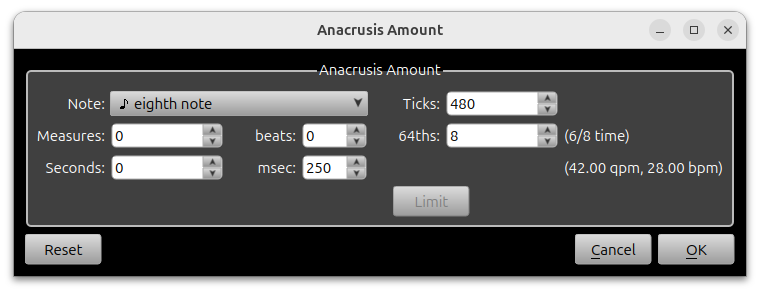
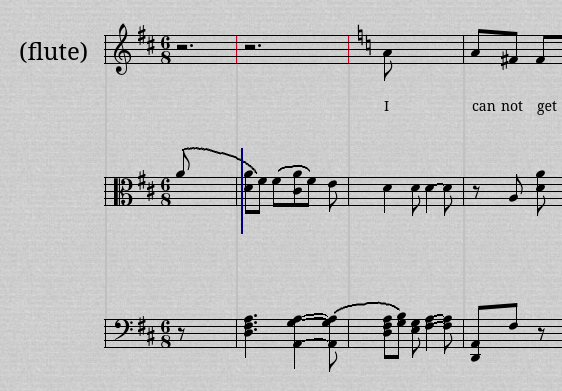
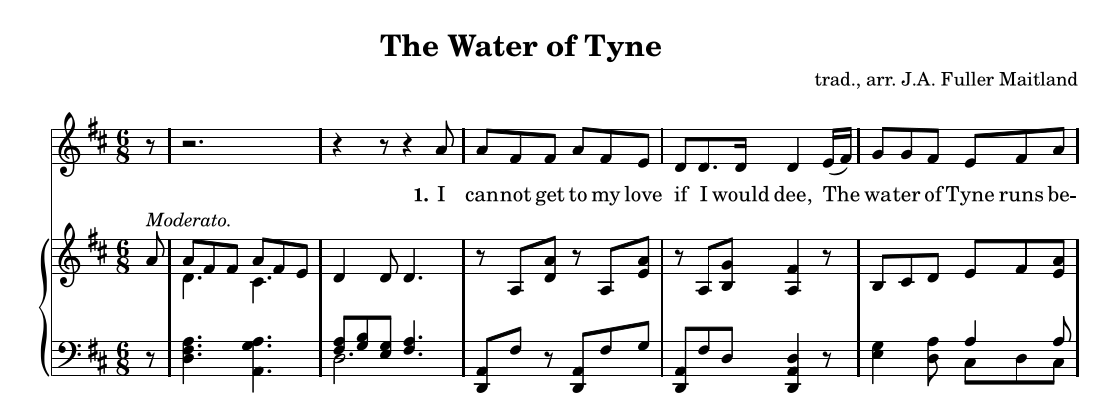
Table of ContentsPiano Notation from MIDITested with a pre-release 25.12. Based on “Piano Notation by Example” (https://rosegardenmusic.com/tutorials/supplemental/piano/index.html). Initial SetupBefore we get started, we need to adjust one of Rosegarden's preferences. In the menu, go to Edit > Preferences… > Notation and make sure “Show notation-quantized notes in a different color” is checked. This makes finding notes that belong to different voices much easier. It highlights them in a bright, attention-getting, poisonous fluorescent chartreuse. This might interfere with other color indicators, but I suspect it is low priority and gets hidden by them instead. Need to do a little experimenting. Water of TyneWe'll start with “The Water of Tyne” from the Mutopia project. You can download the MIDI file and the score from here: Open the .mid file with Rosegarden. Rosegarden will ask about the text encoding. This dialog usually does a pretty good job figuring out the encoding, and it leans toward picking UTF-8 which is pretty much the standard these days. Check the “Example text from file” to see if it looks right. In our case, the “e'e,” looks good. Click OK. Initial CleanupNow press Ctrl+A and N to bring up all the segments in notation. It's pretty bad, but it can be fixed. Close the notation window and go back to the main window. For this example, the “control track” has no helpful information in it, so we can just delete it. Click on the “control track” label on track 1 and press Ctrl+D to delete the track. Next we'll merge the lyrics segment (on track 2) with the melody (flute) segment on track 1. Select the melody (flute) segment by clicking and then Shift+click the lyrics segment on track 2 to add it to the selection. Press Ctrl+J to join the segments into a single segment on track 1. Track 2 is now empty, so let's delete it. Click on track 2's “<untitled>” label and delete it with Ctrl+D. Press Ctrl+A and N to see what we have in notation. Fortunately this file has the piano left and right hands separated for us. If you are working from a performance, you will have left and right in a single segment and you can use “Segment > Split > Split by Pitch” in the main window's menu to help split those. It isn't perfect, but it can save time. At this point, we need another tutorial to show how to use “Split by Pitch” on a single piano track with both hands. Preferably an actual performance that we can quantize and maybe even leave the performance alone. Though I don't think that works right now. AnacrusisLooking at the pdf score for this piece, there is an eighth note pickup at the beginning. However, standard MIDI files have no such concept, so we'll need to shift the music forward in time (left) by one eighth note. In the main window, select all segments with Ctrl+A. In the menu, go to Segment > Create Anacrusis…. Select eighth note (quaver) and click ok. Now the notation looks like this: Melody LineLet's work our way through the melody line and get it to look like the original score. Before working on a staff, it's a good idea to do two things:
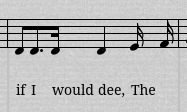
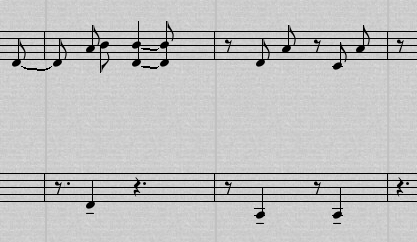
Close the notation editor and do a Ctrl+A and N to bring it back up again. And here's where we stand: If we don't relaunch notation, the key cancellation in bar two is invisible. The older tutorial mentioned “Edit > Preferences > Notation > Accidentals > Key signature cancellation style > Cancel only when entering C major or A minor” as being a way to make this appear more consistently. This may be a bug. That's really close. We just need to clean up a few details. There's a key cancellation to C major (two naturals) in bar 2. This was from the lyric segment. Click on it to select it (it will turn blue), then press the Delete key to delete. In bar 2, the rests do not match the rests in the score. They should be quarter-eighth-quarter. Press Y 4 to switch to rest drawing mode and quarter note. Note that the tool has switched from Arrow (select and edit) to pencil (draw). Click on the dotted quarter rest and you will have quarter-eighth-eighth-eighth rests. Click on the second eighth rest and you should have quarter-eighth-quarter which matches the score. In bar 4, the two sixteenth notes are not beamed and they need a slur. Switch back to the arrow tool by pressing F2. Select the two notes by dragging the selection rectangle over them, and press Ctrl+B to beam and “)” to add a slur. Repeat this for the sixteenths in bars 6 and 8. That completes the melody line. Piano Right HandBegin by doing the usual two things to the right hand staff:
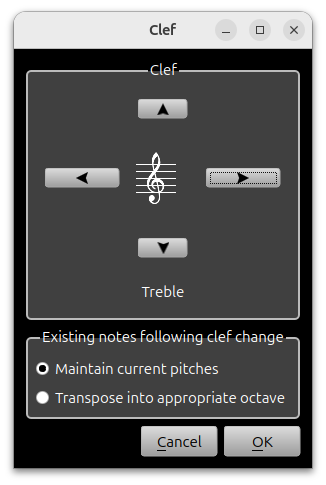
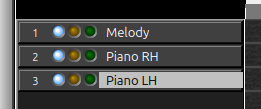
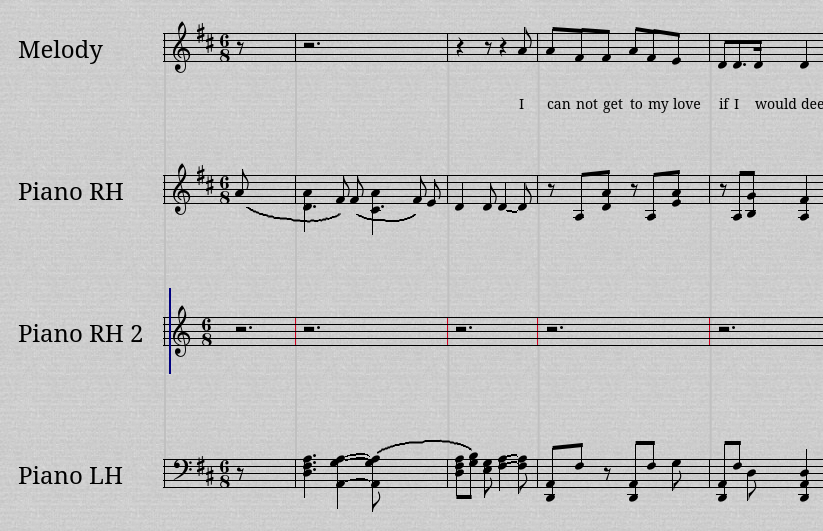
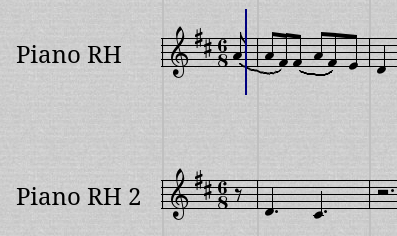
To fix the alto clef, double-click on it to launch the “clef” dialog. Click the right arrow button four times to get to the treble clef. Make sure “Maintain current pitches” is selected and click OK. Next we need to straighten out the voices in the piano parts. To separate voices, we will move them to a new segment on a new track. Close the notation window and switch back to the main window. Let's give each track a name to make it easier to talk about them. Double-click on the melody track's name “(flute)” in the track list and rename it to “Melody”. Rename track 2 to “Piano RH” and track 3 to “Piano LH”. Now let's add a new track and segment for the second voice in the right hand. Select track 2 (Piano RH). Press Ctrl-T to add a track under it. Double click <untitled> on the new track 3 and name the track “Piano RH 2”. Using the pencil tool (F3), draw a new segment in this track that stretches from bar 1 to bar 10. To align the segment with the others, use the arrow tool (F2) and click and drag the segment left to align it. Now let's fix the segment names. To rename a segment, switch to the arrow tool (F2), click the segment and then click the label field in the Segment Parameters pane to the left. Go with the following names for each segment from top to bottom:
Feel free to be more verbose if you prefer (e.g. Piano RH Voice 1). Press Ctrl+A and N to display all segments in notation. The Piano RH 2 staff is missing a key signature. Use Segment > Add Key Change to add a D major at the beginning of the staff. The anacrusis has caused some issues. On the “Piano RH 2” track, note the red barlines which indicate that a note or rest is crossing the bar incorrectly. Triple click on the staff to select everything and press Ctrl+N to fix. At this point, the display might need refreshing. Either close notation and relaunch it, or scroll back and forth to clear it up. There's another red barline on the RH staff at bar 8. This is due to the D in bar 7 which is too long for the bar and needs to be tied. Triple click on the staff to select all and then in the menu: Adjust > Notes > Tie Notes at Barlines. Should we make “Tie Notes at Barlines” part of the “usual three steps” for each staff? Let's move RH notes from voice 1 to voice 2 where they belong. Since we turned on “Show notation-quantized notes in a different color” we can see the five notes that need to be moved in bright chartreuse. First, make sure the position pointer (vertical blue line) is in the Piano RH staff. Click in a blank area and confirm that the position pointer appears there. In the following screenshot, it is just prior to bar 1: Select all five of the highlighted notes (use shift+click to add to selection). Then right-click anywhere within the score and select “Move to Staff Below Cursor”. The notes will be moved to the staff below. Bar one will look like this: And bars 8 and 9 will look like this: Feature: Why don't we automate this? Either with a “select all chartreuse” (or whatever) or with an even more powerful “split voices” feature of some kind? It could create the segment for the second voice and move all the chartreuse notes to it. Even if it's not quite right, it will still save a lot of time. We could also mark notes as “voice 2” using event properties when we do the initial notation quantization. This way the “voice 2” concept isn't lost even if the user removes the notation quantization. Then “split voices” could work based on that information. It could also invert stems and phrase markings, hide rests, and perhaps other things. See Feature Request #538. Right Hand Voice 1Now let's go through RH voice 1 and clean it up. Since we pulled some notes out for voice two, the beaming is off. Triple-Click to select everything. Ctrl+Alt+B to auto-beam. To remove the slurs in bar 1, click on each slur and press delete. To make the tied notes at the end of bar 2 into a single dotted note, select the two notes and press Ctrl+= to collapse equal pitch notes. To fix the beaming in bar 8, select the second note in the tied D and press Ctrl+U to unbeam. This is a little overzealous and unbeams the notes in bar 7 as well. Select the last three in bar 7 and Ctrl+B to rebeam them. Collapse the notes at the end of bar 8 by selecting and Ctrl+=. Now right hand voice 1 should match the original score. On to voice 2. Right Hand Voice 2At this point, we would perform the usual two adjustments to the staff before starting, but in this case there are no issues that would be fixed by that. Still, it doesn't hurt to get into the habit:
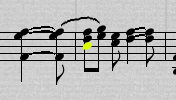
Now the details… To point the stems downward, triple-click the staff to select everything, then Ctrl+PgDn to turn all stems down. To remove the tenutos, triple-click to select everything (if it isn't already) and go to the menu: Note > Marks > Remove All Marks. Next we need to hide the rests in the second voice or they will appear in the score. Select the rests only (a careful drag select should work well) and in the menu: Adjust > Visibility > Make Invisible. Click in the score to deselect and all the rests should be light gray and difficult to see. Combine Voices Into One TrackFinally we need to move the voice 2 segment to the track with voice 1 so that they will print as a single staff. Close the notation editor and go back to the main window. With the arrow tool (F2), click somewhere to deselect everything. Click and drag the “r2” segment onto the Piano RH track and line it up with the others. We're done with the Piano RH 2 track. Click on its label and press Ctrl+D to delete it. Click on the Piano RH track label and press N to see the results. Voice 1 will appear dark and voice 2 will be light gray. Use the thumbwheel in the lower left of the notation editor to switch between the segments/voices. With the second voice's segment selected, the staff looks like this: Piano Left HandThe process for cleaning up the left hand is pretty much the same as cleaning up the right hand, so I'll leave this as an exercise. One problem you will run into is the final D in bar 10. It will display as a half note even though it decidedly is not one. To fix this, you'll need to reduce the length of the note and add a second note for it to tie to. Feature: It would be nice to have a “Tie Notes At Beat” feature to automate this and reduce the potential for mistakes.
The tie will be above the notes which does not match the score. Select the two notes and Phrase > Tie Position > Tie Below… Tracks 2 and 3 should have brackets around them. Select track 2 and in the Track Parameters on the left, open the “Staff export options” and for “Bracket type” select “{—”. For track 3, select “—}”. LilyPondUse File > Print Preview to see the results from LilyPond. To get rid of the track names to the left of the staves, set the track names to nothing. Kind of awkward. Maybe this should be an option in the LilyPond dialog? |

